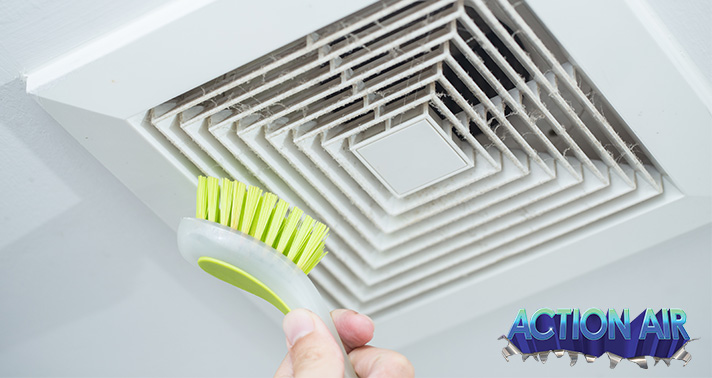
Spring cleaning isn’t just for making your house look nicer. In fact, cleaning certain parts of your home gives a boost to both health and energy efficiency. This pertains specifically to cleaning your vents. Cleaning your vents removes build-up that can prevent adequate airflow, as well as stopping pollution affecting indoor air quality.
Not sure how to properly clean your vents? Let the experts at Action Air guide you! Indianapolis homeowners should ensure their spring cleaning also involves tidying up and strengthening their HVAC system, and what better way to achieve this than by cleaning your vents? Read below for a step-by-step guide!
Here’s What You Will Need:
- Vacuum Cleaner (Preferably a hand vacuum or one with a hose attachment)
- Cordless Drill or Screwdriver (Look at the screwheads on your vents)
- Dish Soap
- Vent/Microfiber Duster
- Microfiber/Cleaning Cloth
Step 1: Locate Your Vents
Your HVAC system works through two types of vents in your home: supply and return. The supply vents distribute conditioned air, while the return vents recirculate existing air. Both vents can be found on the ceiling, floor, and wall of almost any room. Identify and keep track of every supply and return vent in your home to ensure no vents are left untreated. We recommend cleaning the ceiling vents first, as their dust can fall into floor and wall vents.
Step 2: Unscrew the Vent Cover
Make sure your HVAC system is turned off before proceeding. Using the appropriate screwhead, unscrew and remove the vent cover from the duct. Be sure to practice ladder safety when removing the ceiling vent covers: Keep the feet of the ladder on solid and level ground, have someone hold the bottom of the ladder when climbing, and never use the top step.
Use a plastic bag or container to avoid losing any screws. Keep track of how many screws are on each vent. We recommend only unscrewing one vent cover at a time to ensure screws are not misplaced or lost.
Step 3: Dust off Your Vent
Using a duster, vacuum, or your hands, remove and discard any major dust build-up and debris. Be sure to brush gently to avoid scratching any paint. Keep your vacuum’s suction a safe distance away as well. Vent covers tend to have fragile coating, so any harsh brushing could potentially damage the paint.
After removing the dust from both sides, check the area around the air duct for any other dust build-up. Remove any noticeable clumps to restore adequate airflow.
Step 4: Clean Your Vent Cover
Once the vent cover has be cleared of removable dust and debris, it’s time to clean! Fill your sink with warm water and a small amount of dish soap. Place the vents in the sink to let soak for a minute or two. Take them out and begin lightly scrubbing with a cloth. As stated before, do not be harsh with your cleaning, as this can remove paint. After scrubbing off any dirt, give your vent cover a light rinse to wash off any soap residue.
Step 5: Dry and Reattach Your Vent Cover
Using a new cloth, dry your vent cover completely before reattaching it. Attaching a cover that is still wet can lead to stains around the duct, as well as damp areas potentially catching more dust particles.
After drying your vent cover, reattach it to its original air duct using the previous screws. Be careful not to mix any screws up, as different vents may have different screws. After reattaching the vent cover, continue cleaning the remaining vents in your home!
When cleaning your vents, be sure that your air ducts are properly cleared as well. Action Air is your number-one resource for spring cleaning your ventilation, as our professional duct cleaning services helps ensure your HVAC system is receiving proper airflow. Give us a call at 317-451-4371 to meet with Indianapolis’s trusted HVAC experts.


